Wednesday, March 16, 2011

Baking with Baileys

St. Patrick's Day is tomorrow! and I really wanted to start celebrating early with some delicious treats. Instead of just making something that only looked festive for the holiday I figured why not add an Irish taste to it as well! So I made Baileys infused cupcakes! I got the idea while surfing across cooking and baking blogs earlier this week and Cupcake Rehab sparked my interest. The recipe steps are  included in the link if you would like to try this yourself, but here is what you will need.


Large Cupcakes

Cake Batter:
4 cups all purpose flour
2 teaspoons of baking powder
2 teaspoons of salt
2/3 cups of butter
2 cups of sugar
2 eggs
2/3 cups of water
2 tablespoons of milk
1 1/3 cups of Baileys
2 teaspoons vanilla


Frosting:
2/3 cup of butter
3 cups powdered sugar
2 tablespoons of Baileys


*Regular Cupcakes take 25 min, mini cupcakes will take about 15. Her recipe asked for an oven temp of 325, but I felt 350 was best.


Frosting the cupcakes was the best part! I  used a little bit extra sugar and a teaspoon of vanilla as well.


Mini Cupcakes

You could even even garnish your cupcakes with festive chocolate gold coins! Happy Baking!

Tuesday, March 15, 2011

Lloyd the Taco Truck

I have been home for spring break and enjoying rest and delicious home cooked meals from my mom. So of course I'm even too lazy to make my own lunches lately but I have been trying out some exciting new bites in Buffalo! Hopefully I'll start cooking again soon but for now check this out...

On Monday we tracked down Lloyd's Taco Truck in the Maple Office Park, but he is usually downtown.

Lloyd is the first taco truck of Buffalo NY.  They were inspired by the Kogi Truck of Los Angeles featuring Korean BBQ tacos. Buffalonians may not have tried Lloyd’s tacos yet; their opening day of business was just June 28, 2010. But as they have gained support from their loyal Lloydians (as they call their fans) and a social media following, I can guarantee Lloyd’s tacos will be a huge hit this summer! They already have 1,066 followers on twitter and 2,355 likes on Facebook. They use social media to gather support and hint as to where they may be next and what specials they might be serving up!
Its menu is short but sweet including tacos, burritos, and nachos. Each of these has the options of grilled chicken, braised beef, tomatillo pork, or black beans. The nachos can be ordered standard or as “tricked out”. My boyfriend and I shared a Tricked Out nacho and each got a chicken taco and a beef taco. The Tricked Out nachos are even big enough for two people to share for lunch. These nachos are somewhat of a spin-off of your standard nachos, and for the better. The homemade queso has a softer cheddar taste and covers all the nachos, then is piled high with loads of chimichurri sour cream. There are very spicy fresh jalapeños and pickled red onions (which I had never tried before and are not at distinct as fresh onions, they are a bit sweeter and have a softer texture). Lastly the nachos are garnished with fresh leafy cilantro.

And of course, nothing beats Lloyd’s tacos. They may look small but these tacos are brimming with fresh meet that isn’t standard to the mash found in fast food chains, cheese, chopped cabbage and fresh lime and cilantro. I highly recommend the braised beef option! It was deliciously fresh, thick and had just the right amount of spice.

To try this new local phenomenon you have to track him down first! Using social networking you can. To start I added them on Facebook. From there you can follow their links, be updated on where they will be next and see photos from other Lloydians. But here are some links to get you started...and hungry!!!

Baked Ziti.. with a twist!

I wanted to make a thoughtful dinner for my boyfriend a while back but as I am still learning how to cook, I haven't mastered the typical 'date' dinners yet. We don't live in the same town and for his visit I wanted to have a meal that could be nice but still be accomplished without spending hours in the kitchen while he was there.
After surfing through recipes for a while I found this Rachel Ray baked ziti recipe...
http://www.cookingchanneltv.com/recipes/rachael-ray/baked-ziti-with-spinach-and-veal-recipe/index.html

It was so great to have a classic comfort dinner that was nothing like I have had before!
The veal and sage leaves, which I normally don't cook with, really pulled the dish together and brought out the flavor of the other veggies and white sauce. The dish was rich with varied flavor and didn't disappoint from the first crispy bite of the layered cheese to the last creamy ziti noodle.

The best part was all I had to do was stick it in the oven for 40 min before we were ready to eat- because I could make everything ahead of time! The preparation did take me about an hour and a half but with a more experienced cook it could probably go faster.....Enjoy!

Tuesday, March 8, 2011

Reuben Sandwich

I am so excited for St. Pattys Day! Theres no better way to celebrate than with some hearty corned beef meals! Today I made a reuben for lunch and it definately got me in the spirit for this upcoming irish holiday.

Reubens are pretty easy! you will need
3 slices of corned beef
2 slices of rye bread
2 slices of swiss cheese
about 1/3 cup Sauerkraut- or as desired
1-2 tablespoons of Thousand Island dressing

Butter one side of bread with a good amount of butter and lay flat in fry pan. Almost immediately you can add the dressing to the slices of bread. on top of the dressing add the corned beef, sauerkraut, and swiss.


Heat sandwich on med-low heat for about ten min. Bread will become a bit golden and toasted. Like grilled cheese. It is that simple! and so delicious. I paired my sandwich  with some fries and coleslaw. It's a must!
This meal had me feeling as lucky as the Irish! Enjoy!

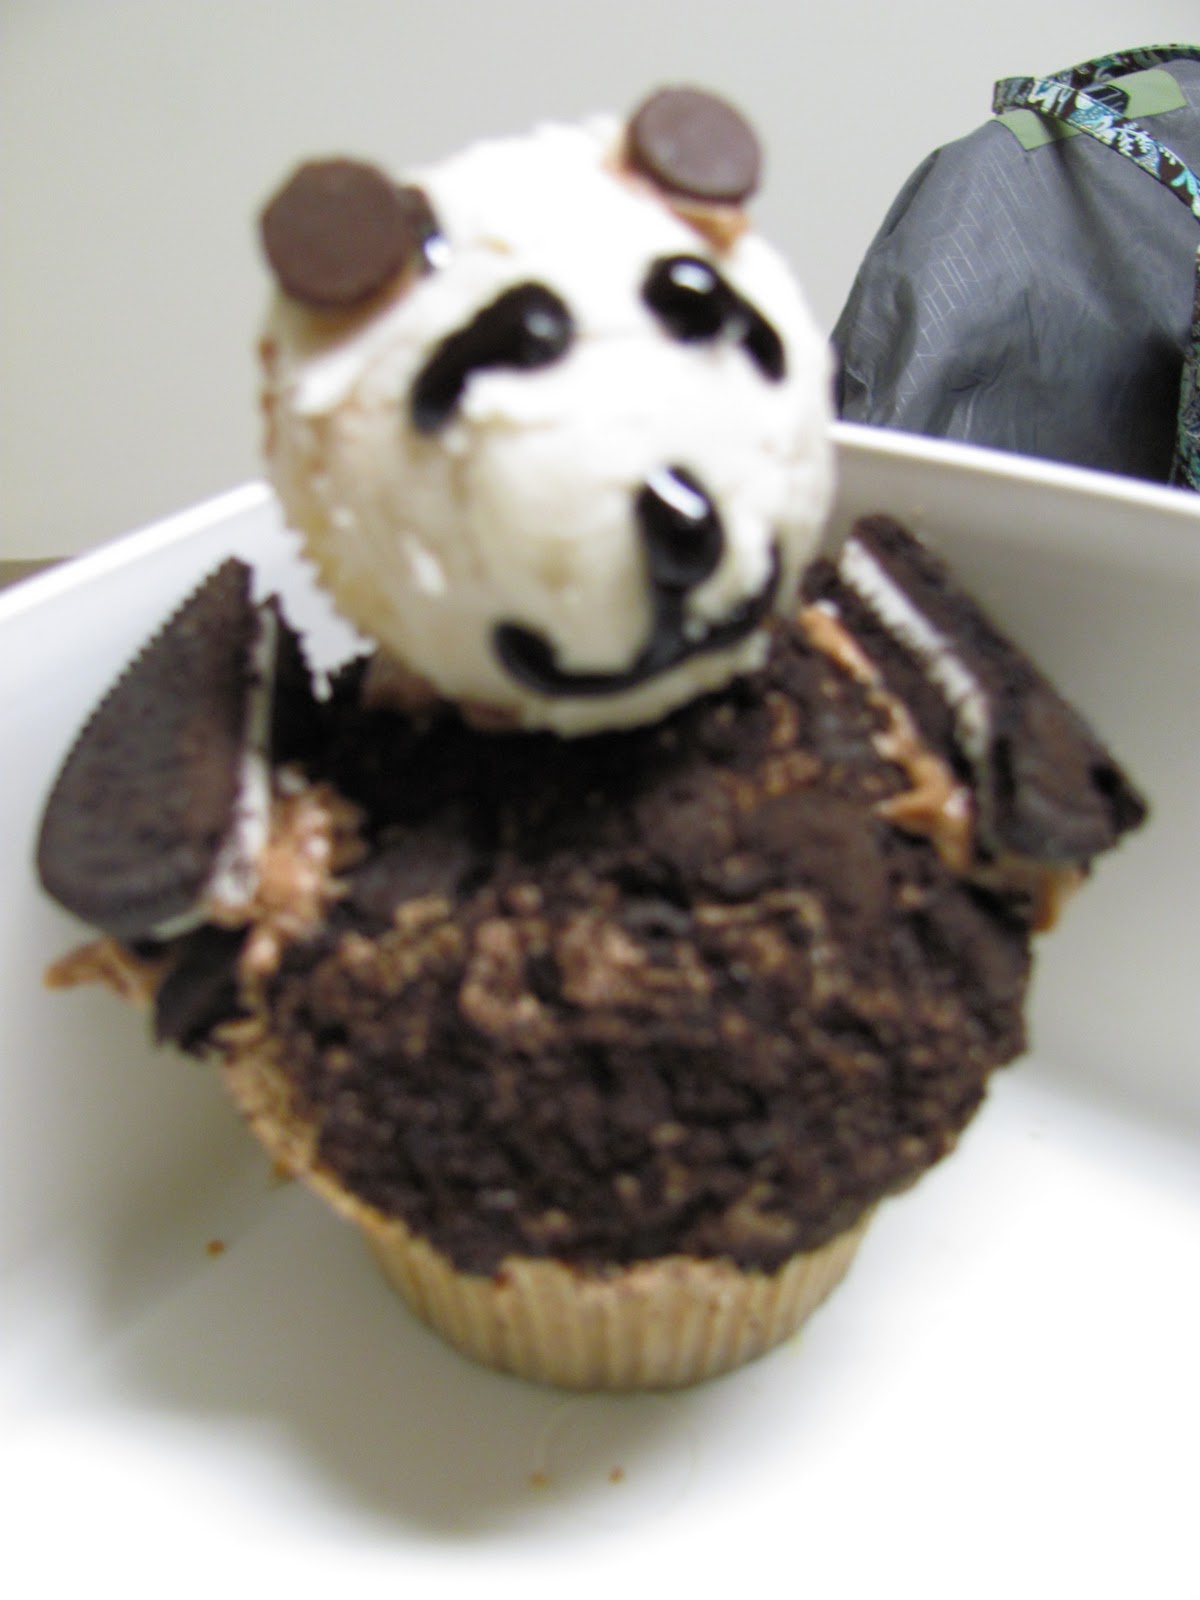
Panda Bear Cupcakes

With my boyfriend’s birthday coming up I knew there is nothing he wouldn’t love more than some tasty homemade cupcakes.  We have a little joke about panda bears so I thought why not make my cupcakes themed of pandas. I must admit the idea wasn’t all my own but I did incorporate some elements of my own!
 The original idea for the standing bear cupcake is from the Hello, Cupcake!  cupcake decorating cook book! Mine weren’t as cute as the book, but they came together much better than I thought they would, and were delicious too!
I used all white cake mix for these two cupcakes, and I cheated and used box mix because I knew decorating would take a while. When you make the cupcakes, make a full pan of large cupcakes and full pan of mini ones.
The mini cupcakes will only need about 10 minutes in the oven, just try to keep an eye on them. I read that they should even bake at 325 degrees instead of 350, but I baked them at 350 so I could do all the cupcakes together, and they were still great.
Next, wipe  the cream off of Oreo cookies and place outer cookies into a plastic bag, about 10 cookies.
Smash the Oreos until they have become a fine powder, and shake out bag into a soup bowl.
Mix frosting. I used the Vanilla Buttercream from the Betty Crocker cookbook.
3 cups of powdered sugar
1/3 cup of butter
1 ½ teaspoons of vanilla
1-2 tablespoons of milk as needed

This vanilla frosting is used for the mini cupcakes; the panda bear heads.

After I was done with Vanilla frosting I converted it into a cocoa butter cream frosting for the bear bodies. All you have to do is add less than 1/3 cup of chocolate powder, a teaspoon more of vanilla and 2 tablespoons more of milk. This frosting turned out beautifully! I was actually much happier with the quality and taste compared to my vanilla frosting!
Frost the panda bear bodies and lightly dip tops of cupcakes in Oreo crumbs. You might have to work with this a little, but be gentle so not to smush the cupcakes.


I piped the remaining cocoa frosting and used it as adhesive for getting the panda face and arms to the body cupcake.
When cutting the Oreo arms, be careful because they break easily. Eventually I ended up just using half a cookie broke into two.

Use black gel and chocolate chips to decorate! How cute :)
I also made cupcakes with just a panda bear face…
This was so easy! Use the same vanilla butter cream frosting as before; I tried to spread the frosting to make a bump on the cupcake where the nose would be. Decorate with black gel, chocolate chips and chocolate wafers!
You will probably still have left over cake mix and frosting so I made these cute little treats as well!


Enjoy!

Tuesday, March 1, 2011

Spicy ' Roni Pizza

Hey Everyone! As we all know in college there isn't time to make a big meal every night. I have had a busy day the past two days for I've made some quick dinners.

This pizza was inspired by one of my favorites I used to make at the restaurant I worked at last summer. I eat a lot of pepperoni pizza while I'm at school and if I am going to make a pizza at home, I definitely want to make it with a twist! Using real pizza dough- either from scratch or store bought is always delicious but when I make a personal sized pizza, I use a pita as my base to save time, and it is still very good!

This pizza has a mixture of jack and cheddar cheese, chopped pepperoni, and hot sauce on a thin layer of pizza sauce
 One 7 inch Pita
 1/3 block (standard size) of cheese
 About 10 slices of pepperoni, chopped
1 tablespoon of hot sauce (Or more if desired. Try Franks Hot Sauce, it’s a Buffalo favorite!)
3-4 spoonfuls of sauce


I put the pita on a baking sheet and under the broiler, watch while it toasts, five minutes is usually enough.

Jalapeño Cheddar Burger

Hamburgers are my favorite thing to make if I am starving after a long day and short on time!
Grilling while living in a small college apartment, (especially in the winter!) is pretty tough, so I cook in a pan and I am still very happy with the result, don’t be afraid to try it!

Before I leave for school I set the ground beef out to defrost in the fridge. When it’s time to make dinner I mix the ground beef with about a teaspoon of garlic powder, and a dash of both salt and pepper. It’s important to try and make the patty pretty flat and wide, ground beef shrinks when it cooks and homemade patties tend to bulk up in the middle creating ball shaped burgers.

After the burger is cooked to desired add cheddar cheese and a few slices of jalapeño, I use jarred jalapeños by Mt. Olive because they are less potent but still flavorful!


Add lettuce, onion, tomato as desired and don’t forget to toast the bun!
I served my spicy burger with a side of zesty Orieda fries that take under 20 minutes!
What a quick and fabulous meal!